Nintendo Switch Controller For PC Windows 7/8.1/10/11 (32-bit or 64-bit) & Mac
Nintendo Switch Controller For PC Windows 7/8.1/10/11 (32-bit or 64-bit) & Mac
The Nintendo Switch Pro Controller is one of the priciest “baseline” controllers in the current console generation. Still, it’s sturdy, feels good to play with, has an excellent direction pad, and features impressive motion sensors and vibration systems. On top of that, it uses Bluetooth, so you don’t need an adapter to use it with your PC.
Nintendo Switch Controller For PC appears to Windows 7/8.1/10/11 as a DirectInput controller rather than an XInput controller like the Xbox 360 and Xbox One gamepads, so it can be a bit of a chore to get it working with your PC games. Fortunately, Steam added complete Switch Pro Controller support, so it probably isn’t as hard as you might think (at least for using it with Steam).
Connecting the Controller
You can’t use your Pro Controller with your PC until you connect it to your PC first. You have two options: wired and wireless. Wired is the most straightforward, but wireless is, well, wireless.
Wired Connection
Plug your Switch Pro Controller cable (or any USB-A-to-USB-C data cable or USB-C-to-USB-C data cable if your PC has a USB-C port) into the controller and your PC. That’s it. The controller will be detected by Windows 7/8.1/10/11 as a “Pro Controller.” You can move on to the Steam setup.
 USB
USB
Wireless Connection
It would help if you had a Bluetooth adapter or onboard Bluetooth, but it’s also easy. With the Pro, Controller charged press and hold the Sync button on the top of the gamepad for a few seconds until the indicator lights start flashing.
 Bluetooth
Open up the system tray and right-click the Bluetooth icon. Click “Add Bluetooth Device,” then click “Add Bluetooth or another device.” You will then need to click “Bluetooth” because Windows 7/8.1/10/11 needs to be reassured that you want to use Bluetooth. The Pro Controller should appear on the list of available devices (if it doesn’t, ensure the indicator lights are still flashing back and forth). Click on it and pair the controller. Now you can move on to Steam setup.
Steam Setup
If Steam doesn’t open automatically into Big Picture mode when you connect the Pro Controller, open up Steam and go into the Settings menu. Click General Controller Settings to open a full-screen Big Picture mode window. Click “Switch Pro Configuration Support.”

Steam Big Picture
If the Pro Controller is connected, the mouse cursor should disappear, and you should be able to navigate Big Picture with the gamepad. You can toggle “Use Nintendo Button Layout” depending on whether you prefer the A/B/X/Y buttons to be mapped as they are on the Pro Controller (clockwise X, A, B, Y from the top) or to be mapped like it’s an Xbox One controller (clockwise Y, B, A, X from the top).
The Pro Controller should work like an Xbox One gamepad with any Steam game when set up through Steam. You can toggle vibration on and off by clicking the controller under “Detected Controllers” in the same setup screen. If the analog sticks seem off, you can manually calibrate them by clicking Calibrate, and you can set how long the controller stays connected before disconnecting, so it goes to sleep.
To ensure everything works as it should between the Pro Controller and your PC game, you should use Steam’s Big Picture mode, the couch-friendly lean-back menu system that works well with a gamepad. If Steam doesn’t ask you if you want to switch to Big Picture mode when you turn on the controller, you can activate it manually by clicking the rectangle next to your username at the upper right corner of your Steam window.

Steam Big Picture
Using Big Picture mode ensures that Steam’s controller support and over-the-game remapping and configuration options appear as they should, which won’t likely be the case if you open a game from the desktop. This happened when we played No Man’s Sky; the controller worked with the game through Big Picture, but the mapping was strange when launched through the desktop.
With the game running through Big Picture mode, entering its controller options should bring up Steam’s Switch Pro Controller overlay, letting you check the controller mappings for different situations and fix them when needed. You can manually map each Pro Controller’s input to any keystroke or gamepad input, but the default configuration should work for most games. This is helpful if any controls seem slightly off with the default settings; running in No Man’s Sky by clicking the right stick was finicky without manual corrections.
Hardware Alternative: 8BitDo Wireless USB Adapter
Steam’s Pro Controller support is welcome and should suit most gaming needs, but you’re out of luck if you want to play non-Steam games with the controller because of how Windows 7/8.1/10/11 detects it. You can fix this one of two ways: using a hardware Bluetooth adapter specifically designed for multiple gamepad types or a software XInput wrapper.
 8BitDo Wireless USB Adapter
The 8BitDo Wireless USB Adapter is a $20 Bluetooth adapter that lets you easily connect the Switch Pro Controller, Switch Joy-Cons, or even the Wii U Pro Controller to your PC. It handles all of the XInput details, so connecting the Switch Pro Controller to it with the physical sync button instead of through your PC’s Bluetooth menu will make it work like an Xbox 360 gamepad, which most PC games can efficiently work with.
Software Alternative: DirectInput-to-XInput Wrapper
This is the most potent and most complicated option. Instead of relying on Steam or a USB adapter to do the job, you use a software wrapper to translate the Pro Controller’s inputs into a format Windows 7/8.1/10/11 can better work with.
 x360ce
Projects like x360ce and WiinUPro/WiinUSoft are open-source programs that let you control how Windows 7/8.1/10/11 sees your non-XInput controller. X360ce is a very robust wrapper that emulates an Xbox 360 gamepad by mapping nearly any other input to the gamepad’s inputs. Wipro and WiinUSoft are similar wrappers explicitly designed for the last three generations of Nintendo controllers, including Wiimotes, the Wii U gamepad, the Wii U Pro Controller, Joy-Cons, and the Switch Pro Controller. Wipro is a more complicated and powerful software version, while WiinUSoft is a lighter and easier-to-use version.
These projects are currently defunct; WiinUPro was last updated in June 2017, and x360ce was last updated in 2015. However, they should get the job done if you’re willing to install and tinker with them until the Switch Pro Controller works the way you want it to. Possibly more than a bit; third-party driver wrappers are incredibly demanding and require much care to work with any controller. It’s tricking Windows 7/8.1/10/11 into thinking it is an Xbox gamepad.
How to connect a Nintendo Switch controller to your PC Windows 7/8.1/10/11 (32-bit or 64-bit) & Mac
One reason that so many gamers appreciate the Nintendo Switch is that its Bluetooth technology easily hooks up and connects to nearby PCs. You can even do this with the Joy-Con and Switch Pro controllers if you have one.
Before connecting your Nintendo Switch controller to your laptop or another Android device, you should ensure that you’ve got a Bluetooth receiver and both objects are relatively close together.
How to connect Joy-Con controllers to your PC
You can easily pair Joy-Con controllers with a Windows 7/8.1/10/11 or Mac computer directly within the Bluetooth menu. Follow the steps below to do so.
Step 1: Turn on Bluetooth on your computer.
Step 2: Disconnect the Joy-Cons from the Switch.
Step 3: Hold the Sync button on the Joy-Cons, located between the SR and SL buttons, until the LED lights start flashing. Use the image below if you need clarification.

Step 4: Look for the Joy-Con in your computer’s Bluetooth menu, and select the option to pair it with your device.
There are some quirks to watch out for, such as when the pairing lights on the Joy-Cons won’t stop blinking. However, you can confirm that the controller is connected by looking at your computer’s Bluetooth settings. If you see the error message below, move the controller around to ensure no other devices interfere with the signal. Then try again.

Unfortunately, the two Joy-Cons will be treated as separate controllers by default. That’s great for two-player games, but it makes them useless for playing anything complex, like a first-person shooter.
There is a reasonably elaborate workaround to sync a pair of Joy-Cons together as a single controller, and it involves multiple external programs and some intensive tinkering. We think the process we’ve described is the best way to go but if you’re interested, follow the steps outlined by Reddit user Jayzizzle1234.
How to connect the Switch Pro Controller using Steam
The Steam client now officially supports the Switch Pro Controller, which was previously only available in the beta client. This allows you to use it with all your games and even remap its buttons, should you see fit.
Step 1: Head to the Controller Settings menu in Steam. You can check support for the Switch Pro Controller and enable the Use Nintendo button layout option, which changes all your games’ button prompts to match the Pro Controller. If you leave this unchecked, the A/B and X/Y buttons will be swapped, like they are on the Xbox One.
Step 2: Next, plug in your Switch Pro Controller with a USB cable, and you’ll be asked to register it and calibrate the built-in gyro sensor for motion control in certain games.
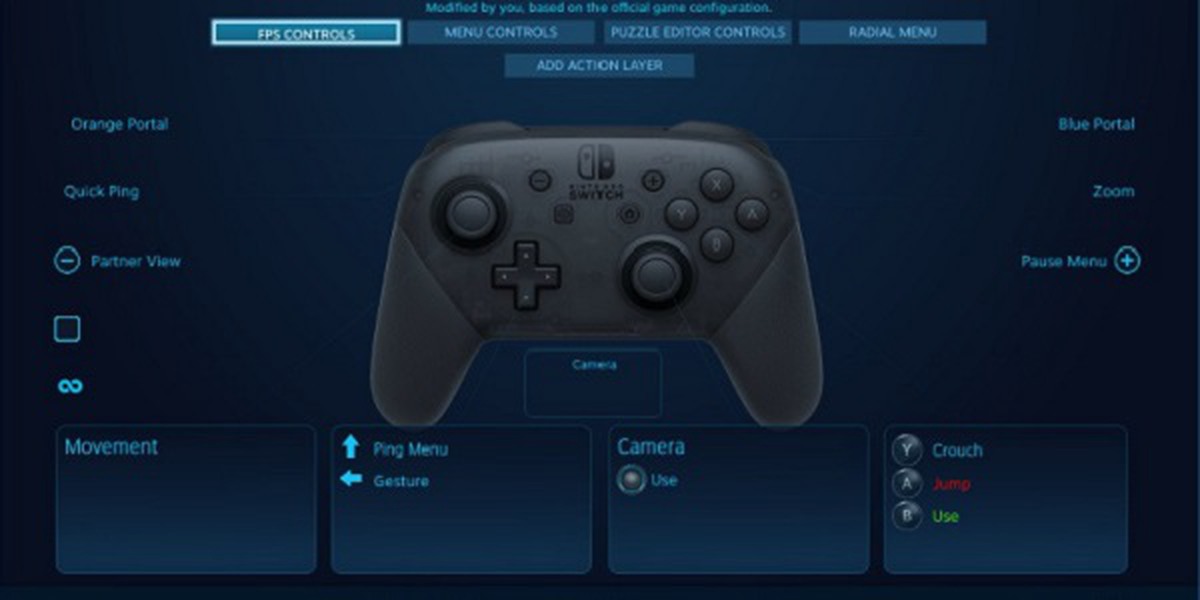
Step 3: Once you’ve done that, select “controller configuration,” You can set the function of every button and stick it on the controller, make preset configurations for specific games, or choose a community member’s configuration by pressing the X button. If you like, you can even bind the gyro sensor to a particular function, enabling you to be nearly as accurate as mouse-and-keyboard players in certain games.

How to connect the Switch Pro Controller via Bluetooth
If you aren’t using Steam, you can connect the Pro Controller directly to your Windows 7/8.1/10/11 or macOS machine via Bluetooth. This way is a little trickier than connecting via USB, so we only reserve this method when you plan to use the Pro Controller with games on a different platform, such as EA Origin, Ubisoft’s UPlay store, and Battle.Net.
Like with the Joy-Con controllers, you will use Bluetooth to connect the Pro Controller to a desktop PC or an alternative device. The steps are essentially the same as connecting the Joy-Cons, so check the bullet points above for the exact method. The sync button for the Pro Controller is located at the top of the controller, directly to the left of the USB-C plug.
The Pro Controller should prove more viable for a broader range of games than the Joy-Cons because it touts a more traditional layout, although it’s not compatible with everything. That’s due to the controller APIs in use; the Pro Controller uses DirectInput rather than the newer API XInput, making it incompatible with many newer games.
One method to get around this is to download the freeware program x360ce, which translates DirectInput commands for XInput games. It was specifically designed for Xbox 360 controllers, so x360ce does recognize the Switch Pro Controller.

Using it requires some gaming savvy, which, to be fair, you probably have if you’re attempting this in the first place. It’s an imperfect solution — not every game will work, no matter what you do. We’ll have to wait for the homebrew community to devise their methods.
One more thing to remember if you connect the controller wirelessly: You can’t charge the Pro Controller while paired via Bluetooth. If you plan to connect it for non-Steam gaming, plug in the Pro Controller before and after, especially if it’s your controller of choice for marathon sessions. The Pro Controller has exceptional battery life — 40-plus hours on a full charge.
Other things to keep in mind
If you’re using the Joy-Cons, keep in mind that if you’ve had connectivity issues with your left Joy-Con on the Switch, you may run into similar problems on other devices. The Bluetooth connection can be iffy and is quickly interrupted by interfering devices. Keep the line between the Joy-Con and your PC clear, and if it’s getting inconsistent, try adjusting where you hold the controller.
Shortly after the Switch launch, Nintendo said it had corrected future shipments’ connectivity issues. If you didn’t buy your console when the console launched in 2017 or bought another Joy-Con recently, you’d likely encounter fewer issues.

The Joy-Cons and Pro Controller — outside of Steam — are best used with older games that support simple controls and the older DirectInput API. They may even be the best option for emulating old Nintendo games on your PC or another device — after all, what could be more fitting than using the newest Nintendo controller to play the oldest Nintendo games?
Author’s Opinion regarding the Nintendo Switch Controller For PC Windows 7/8.1/10/11 (32-bit or 64-bit) & Mac
The Nintendo Switch Controller For PC has powerful features while considering the security purpose priority is very high. No VPN or RDP is required for the said purpose. In some cases, the emulator also works fine, and middleware software also has a vital role in smooth functioning. Therefore, the author recommended the Nintendo Switch Controller For PC for your personal use and has no issue regarding the installation on PC (Windows 7/8.1/10/11 and Mac). I hope you also use it without any trouble. If you have any issues, please mention them in the email, and we will provide you with proper solutions. Please like and share with others. We made a lot of effort while collecting the software for your download.